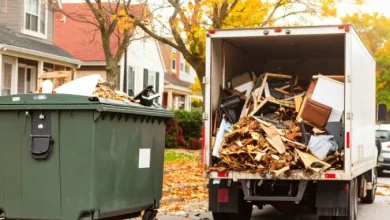
A clean and organized property is essential, and dumpsters play a major role in keeping things tidy. However, leaving a dumpster exposed can lead to problems like pests, illegal dumping, and an unsightly appearance. A simple dumpster enclosure can keep things secure and hidden while maintaining a neat, orderly space. Here’s how to build one in six straightforward steps.
What is a Dumpster Enclosure?
A dumpster enclosure is a structure that hides a dumpster from public view, offering a secure area where trash can be stored. Whether you’re managing waste on a residential or commercial property, an enclosure prevents unwanted access and helps maintain a clean environment. It also protects your dumpster from contamination by unauthorized individuals, reducing the chances of overage fees.
You have two options when it comes to building a dumpster enclosure: you can hire professionals or take on the project yourself. While hiring a professional might be convenient, building the enclosure yourself can save money and be a rewarding experience. Here’s a breakdown of materials and installation methods:
Step 1: Choose the Material
The material you choose will affect the appearance, durability, and maintenance of your dumpster enclosure. Common options include wood, vinyl, chain-link, and concrete.
If you want something low-maintenance and long-lasting, concrete or vinyl could be a good fit. Wood might be a more affordable option but could require more upkeep. Consider the climate, your aesthetic preferences, and how much effort you’re willing to invest in maintenance before making your decision.
Step 2: Mark and Dig the Post Holes
Begin by marking the boundaries of your enclosure using stakes and string. This helps ensure that the enclosure’s dimensions are accurate. Once the boundaries are marked, dig the post holes. The depth and width will depend on your chosen material, but a good rule of thumb is to make the holes about three times the width of the posts.
Step 3: Install the Posts
Place the posts in the holes and ensure they are level and upright by using 2x4s for support. Pour quick-setting concrete into the holes to secure the posts. Make sure to follow the manufacturer’s instructions for curing time, allowing the concrete to fully set and ensure stability.
Step 4: Attach the Rails and Framework
Once the posts are set, connect them with horizontal rails to form the basic framework of the enclosure. Use screws, bolts, or other appropriate fasteners to securely attach the rails to the posts. This framework will provide the structure for the panels.
Step 5: Install the Panels or Fencing Material
Now that the framework is complete, it’s time to attach the panels or fencing material to the rails. Whether you’re using wood, vinyl, or metal panels, ensure they are evenly spaced and securely fastened. This step will ensure your enclosure is solid and visually neat.
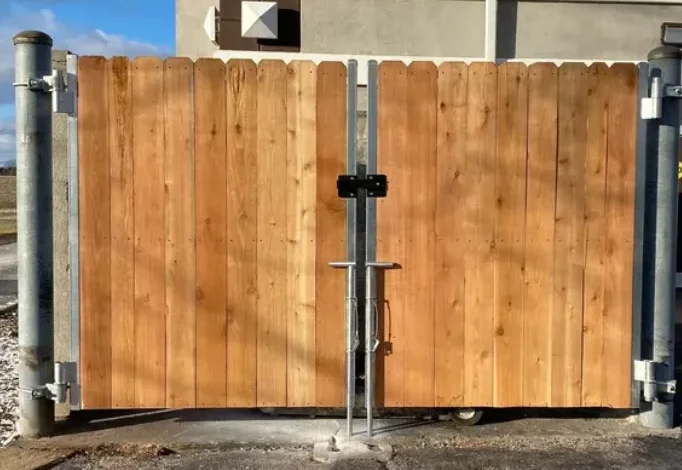
Step 6: Add Gates or Doors
The final step is to install gates or doors to allow easy access to the dumpster. These should open and close smoothly, and you may want to include a lock or latch for added security. Consider using a passcode system if you need extra control over access.
Maintenance Tips for Long-Lasting Enclosures
Once your dumpster enclosure is complete, a little regular maintenance will go a long way in keeping it in top condition. Here are a few tips:
- Cleaning: Regularly rinse the enclosure to remove dirt, debris, and any lingering odors. A pressure washer is ideal, but a hose and stiff brush can work just as well.
- Waste Management: Ensure all waste goes into the dumpster and not around it. Overflow or spills can damage the enclosure and attract pests.
- Inspections: Periodically check for damage, including cracks, rust, or loose components. Addressing minor issues before they worsen will help maintain the enclosure’s integrity.
- Rust Prevention: If your enclosure is made from metal, apply a weather-resistant coating or paint to protect it from rust.
Conclusion
Building a dumpster enclosure doesn’t have to be complicated. With the right materials and a bit of effort, you can create a secure, attractive space that keeps your dumpster out of sight while reducing waste-related problems. If you’re unsure about the size or need extra waste management support during your project, consider renting a roll-off dumpster for a more efficient cleanup. A well-maintained enclosure will enhance your property’s appearance, provide better waste management, and contribute to a cleaner environment.